SpaceRevolution Wiki
SpaceRevolution is a multiplayer space shooter that runs in the browser (and as an Android app). In the hangar you upgrade your ship and buy ammo and ships, then fly out to the maps: hunt NPCs and bosses, fight other players or play in a team. This wiki describes every map, enemy, ship and rule of the game – the numbers always reflect the server’s current settings.
The basics
Controls
The default key bindings – you can change them in the ⚙ (Settings) menu at the top right of the game screen, where you also set the volume.
| Key | Action |
|---|---|
| WASD / arrows | move |
| mouse | aim |
| left mouse button / Space | fire |
| 1 … 9, 0 | ammo and instant slots (1st–10th) |
| CVBNM | ship abilities (1st–5th) |
| G | drone mode (combat / passive / off) |
| T | place a turret |
| E | upgrade a turret or the base (when near it) |
| J | use a gate (inside its protected zone) |
Base values
- Health
- 100 HP (+ upgrades, ship multiplier)
- Speed
- 360 px/s
- Fire rate
- 4 shots/s
- Bullet
- 720 px/s, 2 s
- Starting credits
- 35,000 credits
The most important in-game resource is kill points (the value of the kills you make during a run): they raise your damage, speed and defence, you spend them on turret and base upgrades, and your credits come from them too. Details: Kills and mechanics.
Maps
There are 6 maps in the game. When you launch, you go back to the map you last played (or to Origin with the Origin button); you travel between maps through gates. There are no entry requirements – you can go to any map at any time.
Origin
The starting map: you arrive here when you launch and when you respawn for free. The base stands in the middle: within its 350 px circle it heals (1 + base level)% of your max health per second; within 180 px you can upgrade it with E for (level + 1) × 5 kill points. NPCs are the weakest here – ideal for starting out.
- NPCs
- Enemy1: 8 · Enemy2: 5 · Enemy3: 13 · Enemy4: 1 · Enemy5: 3
Hardmode
The hard map: NPC health and damage are ×2, their detection range is ×5 (they spot you from far away), and there are many more of them – Void NPCs too. In exchange, credits and NPC-kill rank points are ×2. There is a base.
- NPCs
- Enemy1: 50 · Enemy2: 10 · Enemy3: 100 · Enemy4: 2 · Enemy5: 20

Void
The home of the Void NPCs: only Void NPCs and the Void Bosses live here. There is no base. Void NPCs attack with fast purple bullets and grow stronger with every player they kill.
- Void NPCs
- Void NPC 1: 25 · Void NPC 2: 20 · Void NPC 3: 13 · Void Boss: 1 · Void NPC 5: 10

PvP
Pure player-versus-player combat: no NPCs at all and no base. The only kill points here come from other players.
No NPCs.

Boss
Here every NPC is a boss (Boss NPC): multiplied health and damage, but four times the reward. There is no base.
- NPCs
- Enemy1: 4 · Enemy2: 3 · Enemy3: 6 · Enemy4: 1 · Enemy5: 2

End
The map of the Centurion: besides the huge, ever-growing boss and its Hunters, there are a few of every NPC type and Void NPC too. There is no base.
- NPCs
- Enemy1: 8 · Enemy2: 4 · Enemy3: 10 · Enemy4: 1 · Enemy5: 1
- Centurion
- 1 (+ Hunterek)
Gates
- Maps are connected by gate pairs in the map corners (at most 3 per map). The connections are re-rolled at every server start, but every map is always reachable – the arrow and the minimap show where the gates are.
- The protected zone around a gate (500 px): nobody can fire and no turret can be placed; NPCs can neither see nor damage you; players cannot damage you either once you have taken no damage from a player for 3 s.
- Travel: press J in the protected zone. If you have turrets on the map, you choose whether to pick them up (F) or leave them (O). The jump takes 1.5 s (you are invulnerable meanwhile), you arrive at the centre of the destination gate, and you cannot use that gate pair again for 15 s.
- Everything carries over when you change maps: your kill points, health, shield, run bonuses, drone and group.
Death and respawn
1.5 s after dying you can choose:
| Option | Cost | Effect |
|---|---|---|
| Origin | free | in a protected gate zone on Origin, with 70 health |
| Same map | 1,000 credits | in one of the map’s protected gate zones (not offered on Origin) |
| On the spot | 5,000 credits | where you died, with full health and shield, invulnerable for 5 s |
If you don’t choose within 30 s, you respawn on Origin automatically. What you lose on death is described in What you lose on death.
Enemies (NPCs)
- On the Hardmode map NPC health and damage are ×2 and detection range ×5 (Void NPC health and damage too).
- NPCs can neither see nor damage a player inside a gate’s protected zone (or a cloaked one).
- The damage of their shots is reduced by half of your kill points (by up to 95%) – the more you have killed, the less they hurt you.
- NPC escalation (the “kill” counters) accumulates per map and lasts until the server restarts.
- Without a target they roam at half speed.
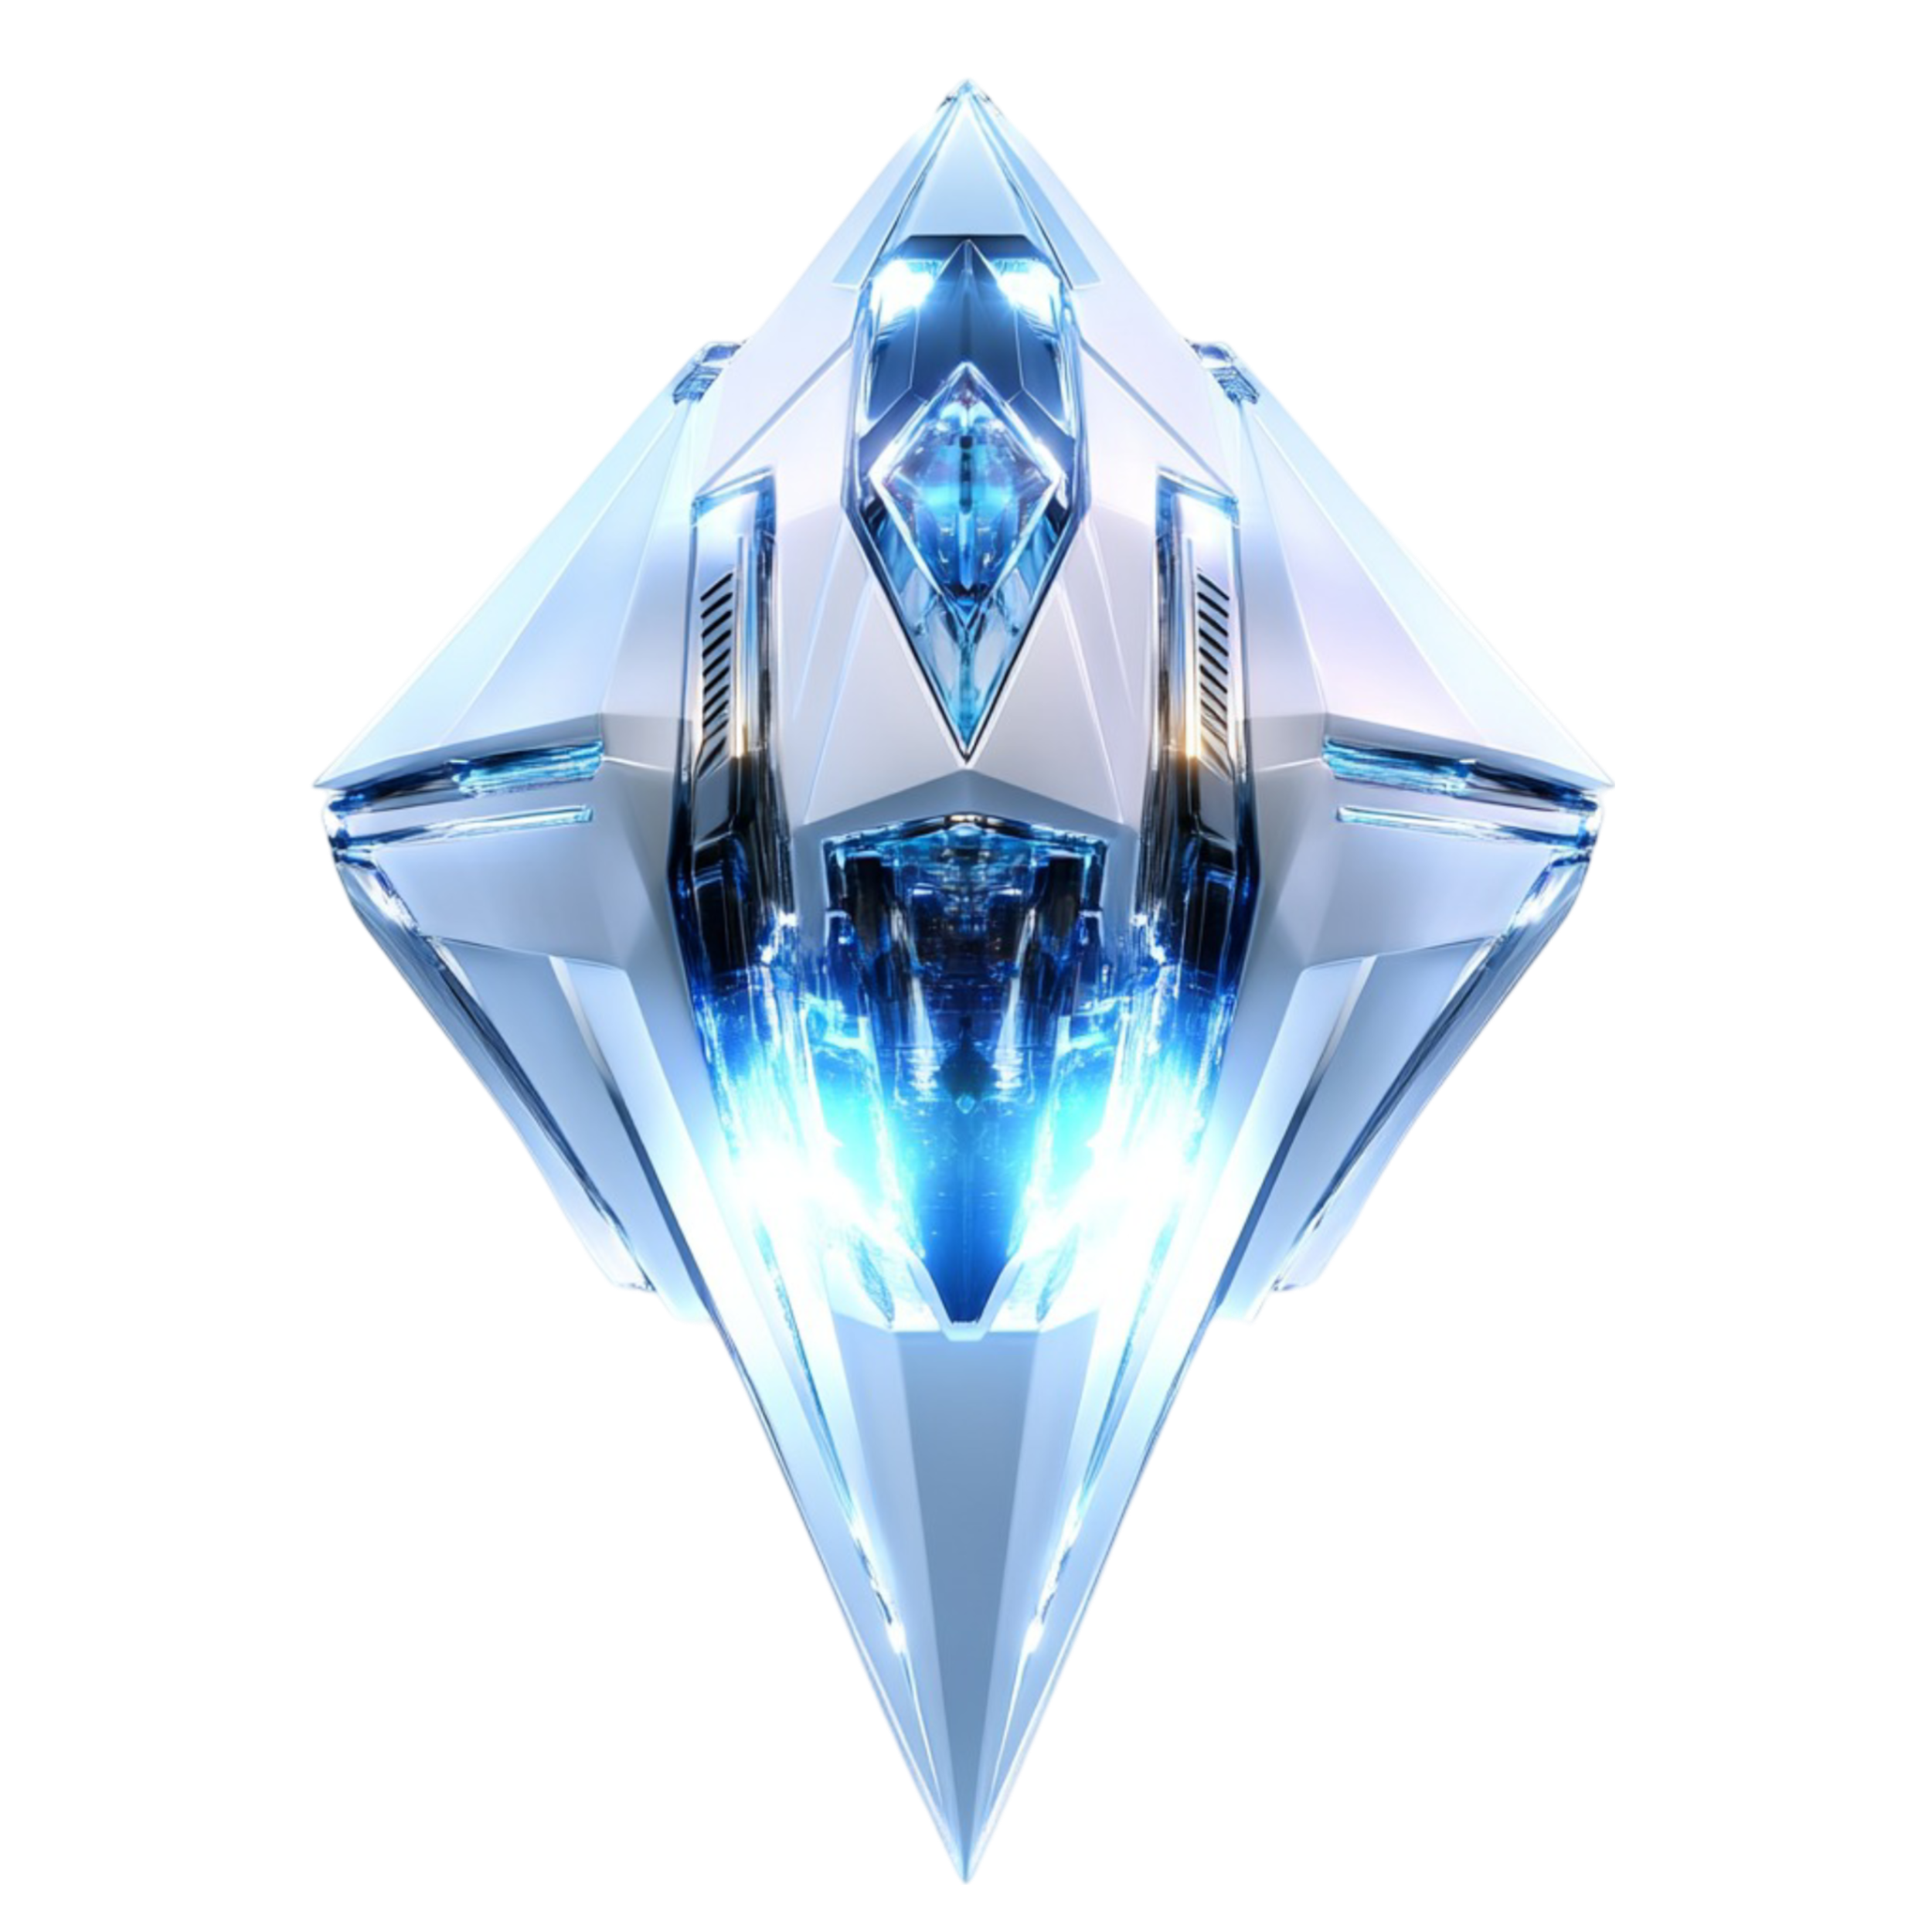
Enemy1
Chases the nearest player and fires when in range.
- Health
- 50
- Speed
- 300
- Damage
- 10 + 2 × NPC1-kill
- Fire rate
- 2.5 shots/s
- Range
- 520 px
- Detection
- 1,000 px
- Respawn
- 2 s
- Where
- Origin (8), Hardmode (50), Boss (4), End (8)
- Speed boost
- when it attacks or starts to flee: +100% speed for 2 s; it recharges after 5 s without taking or dealing damage
- Your damage to it
- (20 + 0.8 × kill points + weapon bonus) × ship multiplier
When it kills a player
- its health +10, the “NPC1 kill” counter +0.1 (damage +0.2)
When you kill it
- 0.2 kill points (2 credits)
- healing: 7.5% of your max health
- 1 rank points
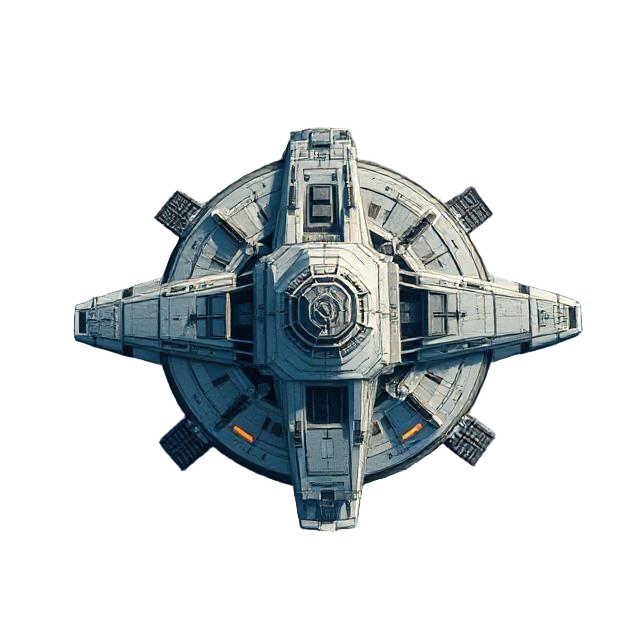
Enemy2
A big, slow ship with very fast fire and long range. Protection: the more players the NPC2s have killed, the less damage every shot does to them (up to −80%).
- Health
- 300
- Speed
- 50
- Damage
- 25 + 5 × NPC2-kill
- Fire rate
- 5 shots/s
- Range
- 1,000 px
- Detection
- 1,500 px
- Respawn
- 10 s
- Where
- Origin (5), Hardmode (10), Boss (3), End (4)
- Your damage to it
- (20 + kill points + weapon bonus) × ship multiplier ÷ protection
When it kills a player
- its health +30, damage +1, fire interval −5 ms, and its protection grows
When you kill it
- 0.3 kill points (3 credits)
- healing: 10% of your max health
- +10 max health (until the end of the run)
- 3 rank points
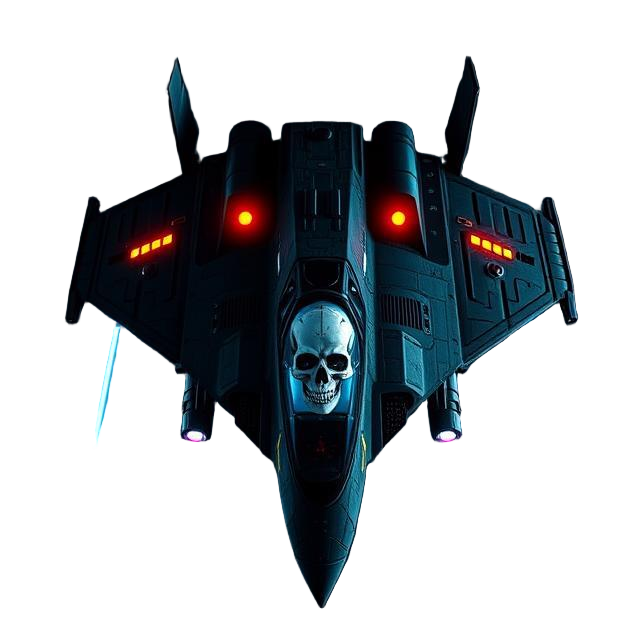
Enemy3
Weak but fast and numerous; attacks in swarms. They get faster after every player they kill (+1% per kill, up to +50%).
- Health
- 20
- Speed
- 340
- Damage
- 10 + 8 × NPC3-kill
- Fire rate
- 1.7 shots/s
- Range
- 200 px
- Detection
- 2,000 px
- Respawn
- 0.5 s
- Where
- Origin (13), Hardmode (100), Boss (6), End (10)
- Your damage to it
- (15 + 1.5 × kill points + weapon bonus) × ship multiplier
When it kills a player
- its health +5, damage +0.4, speed +1%
When you kill it
- 0.1 kill points (1 credits)
- healing: 2.5% of your max health
- 2 rank points
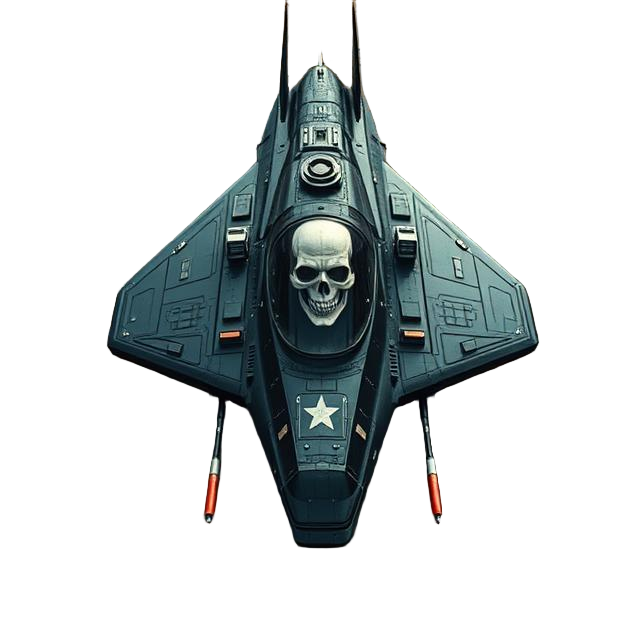
Enemy4
A huge, slow, armoured ship: it does not shoot, it just slowly follows you – but its bodyguards, the NPC5s (Enemy5), orbit around it and protect it. As long as there is no NPC4 on a map, there are no NPC5 either.
- Health
- starts at 1,000, +500 after every NPC4 kill
- Speed
- 50
- Detection
- 10,000 px
- Respawn
- 10 s
- Where
- Origin (1), Hardmode (2), Boss (1), End (1)
- Your damage to it
- (10 + kill points + weapon bonus) × ship multiplier
When you kill it
- healing: 5% of your max health
- +50 max health (until the end of the run)
- +10 max shield (if you own a shield upgrade)
- 25 rank points
- kill points: its health / 1000 × 1 (the first one gives 1, then more and more)
- the map escalates: the next NPC4 has +500 health, +2 NPC5 appear, and NPC5 damage and protection grow
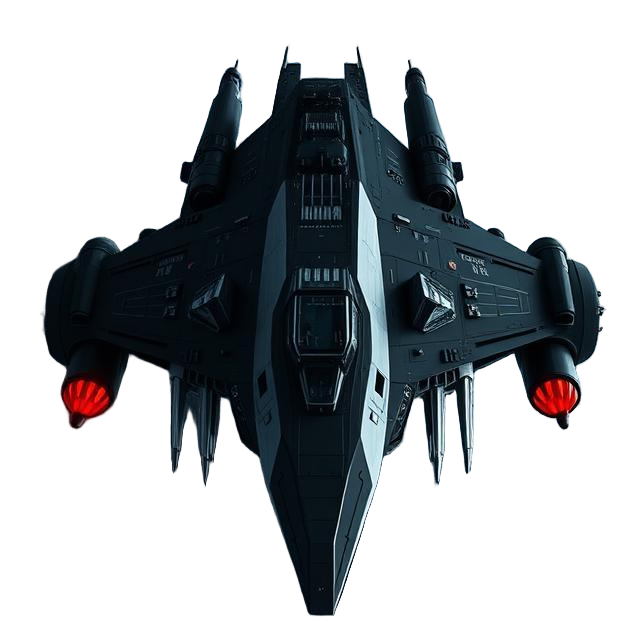
Enemy5
The bodyguard of NPC4: it orbits within 400 px of it and fires at the nearest player in range. Protection: your damage to it is reduced by half of the NPC5 kill counter (at most −95%). With every player they kill they become more numerous and stronger – NPC5s are the most dangerous “growing” enemies.
- Health
- 200
- Speed
- 400
- Damage
- 12 + 5 × NPC5 kills, at most 300
- Fire rate
- 2 shots/s
- Range
- 650 px
- Respawn
- 5 s
- Where
- Origin (3), Hardmode (20), Boss (2), End (1)
When it kills a player
- the “NPC5 kill” counter +1: damage +5 (up to the cap), protection grows; health +5, and +1 NPC5 appears (at the cap +1 more)
When you kill it
- 0.2 kill points (2 credits)
- healing: 5% of your max health
- 5 rank points
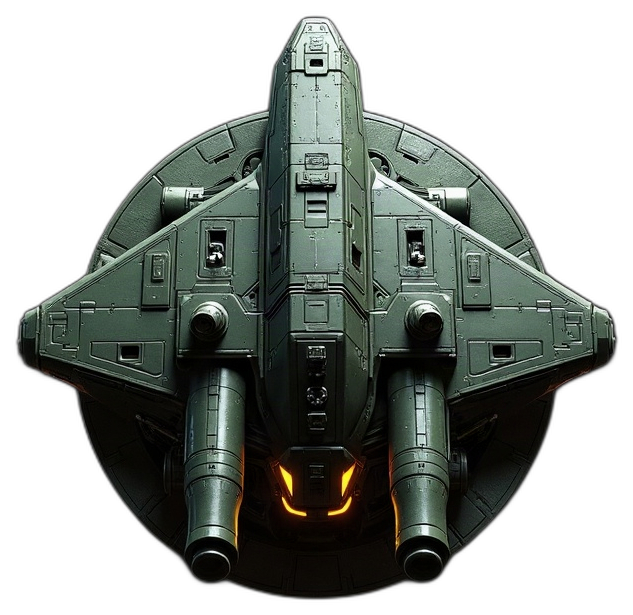
Boss NPC (👑)
Any NPC1–5 can also appear as a boss: at every spawn, with the map’s boss chance (Origin 10%, Hardmode 50%, Boss 100%). The boss variant has ×6 health, its shots deal ×3 damage (at least 3), ×2 detection, ×2 size, and its type’s kill counters affect it ×2 as strongly. A BOSS NPC5 deals at most 600. In exchange, kill points and the max-health reward are ×4.
| Type | Kill pts | Heal | Max HP | Shield | Rank |
|---|---|---|---|---|---|
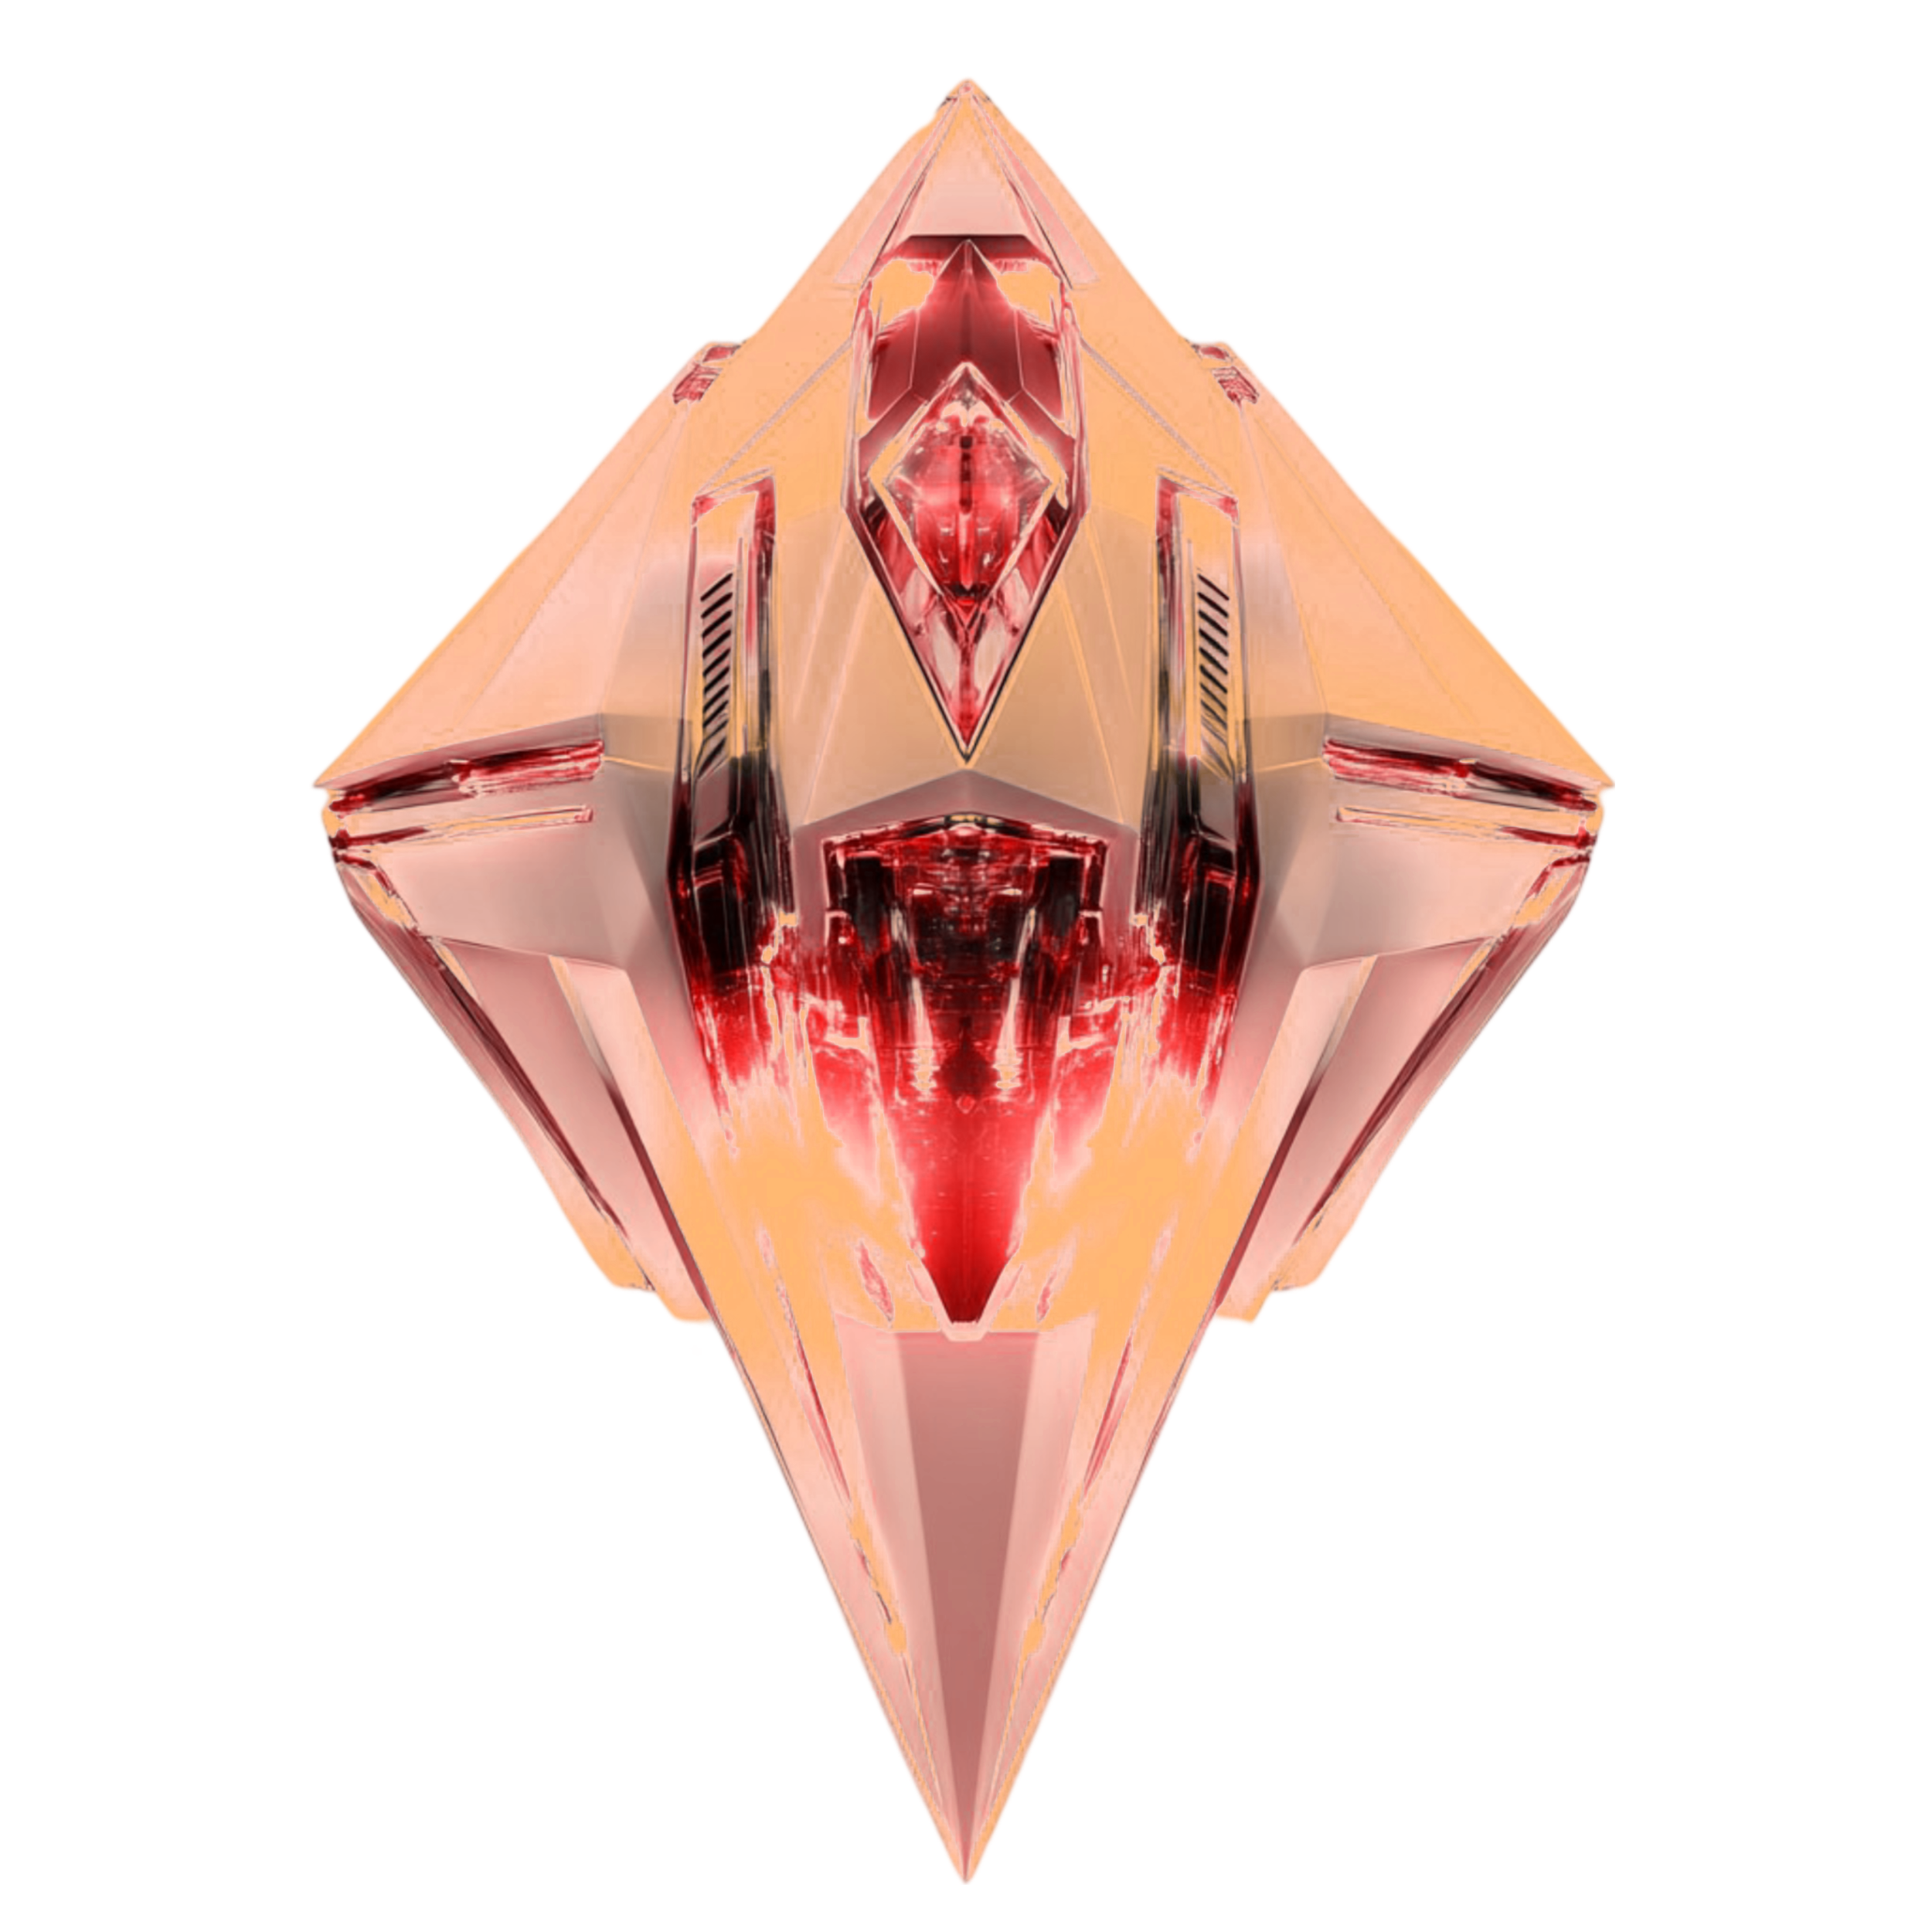 👑 BOSS Enemy1 | 0.8 | 7.5% | +0 | +4 | 4 |
| 👑 BOSS Enemy2 | 1.2 | 10% | +40 | +4 | 12 |
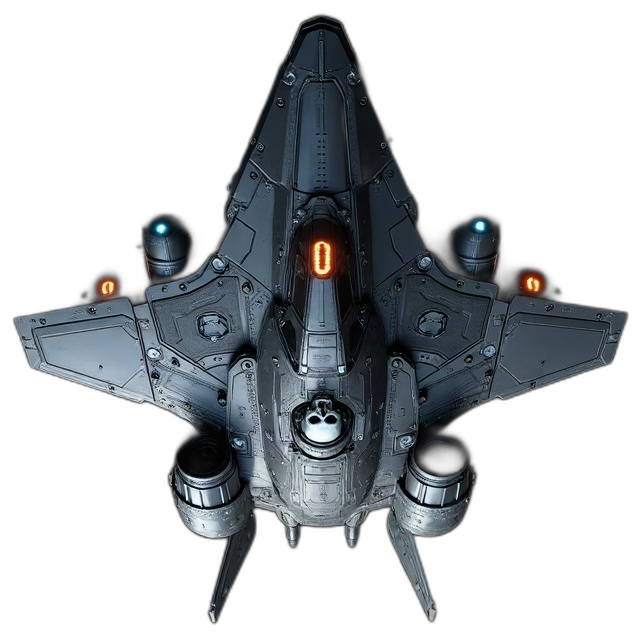 👑 BOSS Enemy3 | 0.4 | 2.5% | +0 | +4 | 8 |
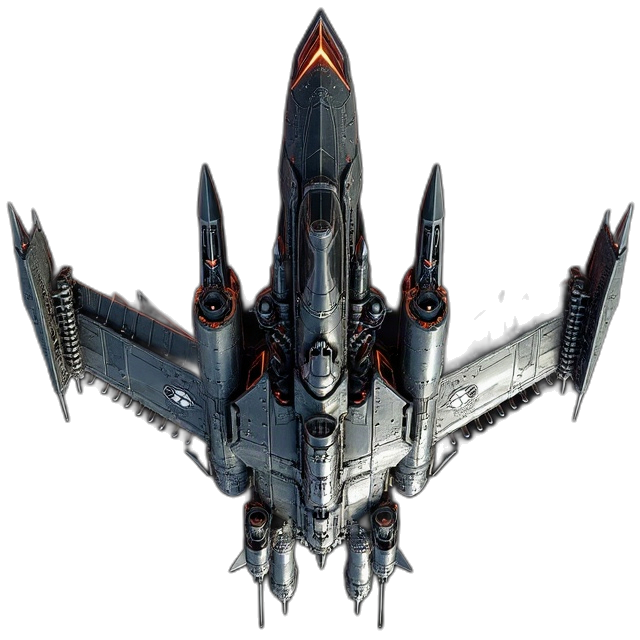 👑 BOSS Enemy4 | NPC4 × 4 | 5% | +200 | +40 | 100 |
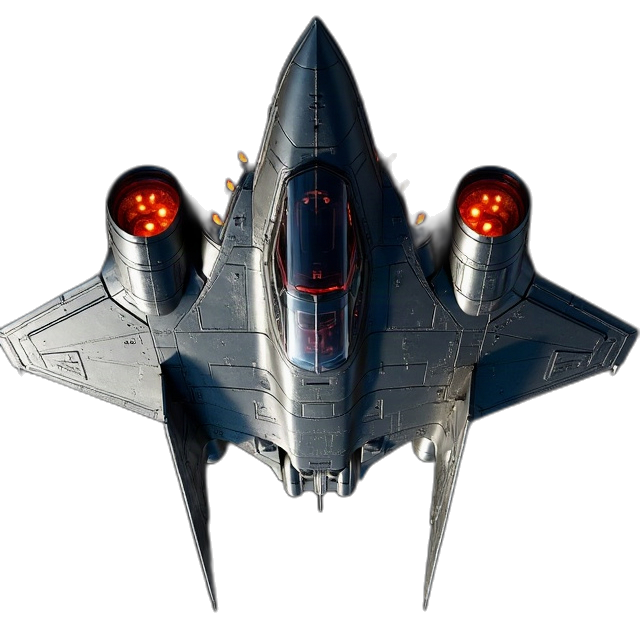 👑 BOSS Enemy5 | 0.8 | 5% | +0 | +4 | 20 |
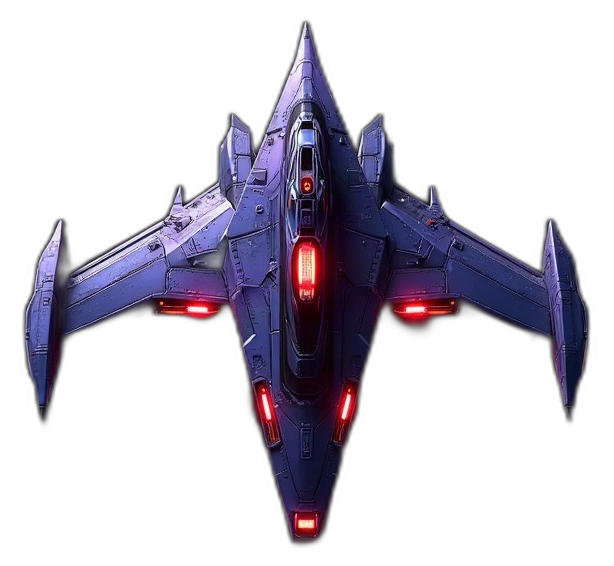
Void NPC 1
A nimble Void fighter: small and fragile (300 health), but it hits hardest per shot (50) and fires fast (10 shots/s – about 500 damage/s). Up close it strips your shield in seconds – shoot it first, it does not take many hits. Its player kills barely make it stronger. Its damage is fixed (reduced by half of your kill points, but at least 5).
- Health
- 300
- Speed
- 330
- Damage
- 50
- Fire rate
- 10 shots/s
- Firepower
- about 500 damage/s
- Size
- 1×
- Range
- 500 px
- Detection
- 1,500 px
- Respawn
- 5 s
- Where
- Void (25)
When it kills a player
- after every player kill (every unit of the type): +10 health
When you kill it
- 0.3 kill points (3 credits)
- healing: 5% of your max health
- +1 max shield (if you own a shield upgrade)
- 3 rank points
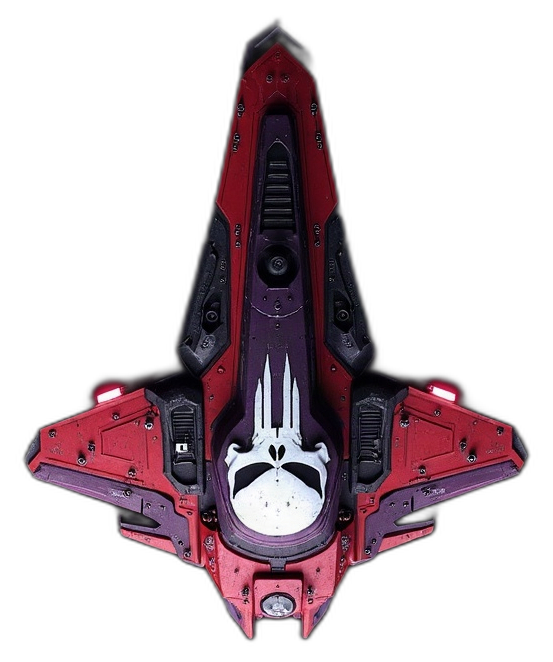
Void NPC 2
The Void battleship: ×2 size, the toughest (800 health), slower (300) – and it fires two parallel cannons at once (2 × 30 per volley, 15 volleys/s – about 900 damage/s, the highest firepower). It spots you from far away (4,500 px) and opens fire from long range (600 px). Every player kill makes it tougher and stronger – a battleship with many kills is one of the hardest enemies on the map. Its damage is fixed (reduced by half of your kill points, but at least 5).
- Health
- 800
- Speed
- 300
- Damage
- 30 × 2 bullets
- Fire rate
- 15 shots/s
- Firepower
- about 900 damage/s
- Size
- 2×
- Range
- 600 px
- Detection
- 4,500 px
- Respawn
- 5 s
- Where
- Void (20)
When it kills a player
- after every player kill (every unit of the type): +20 health, +5 damage
When you kill it
- 0.3 kill points (3 credits)
- healing: 5% of your max health
- +1 max shield (if you own a shield upgrade)
- 3 rank points
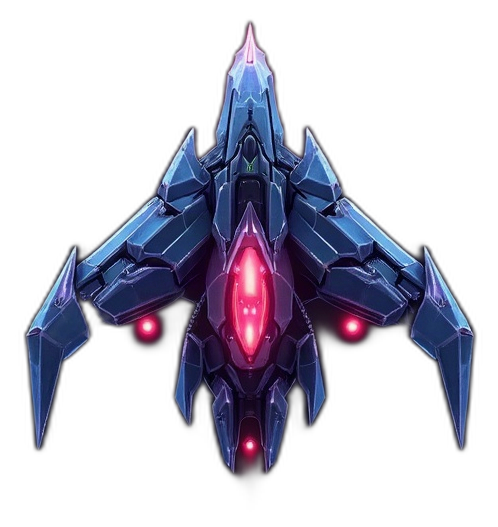
Void NPC 3
A Void giant of ×3 size – yet faster than both Void NPC 1 and 2 (360). Its shots are weak (5) but come in a dense hail (15 shots/s), and its big body is an easy target. Its real danger is growth: every player kill gives it a lot of health and speed, so a “well-fed” Void NPC 3 soon becomes a fast, nearly indestructible tank. Its damage is fixed (reduced by half of your kill points, but at least 5).
- Health
- 300
- Speed
- 360
- Damage
- 5
- Fire rate
- 15 shots/s
- Firepower
- about 75 damage/s
- Size
- 3×
- Range
- 500 px
- Detection
- 2,000 px
- Respawn
- 5 s
- Where
- Void (13)
When it kills a player
- after every player kill (every unit of the type): +100 health, +10 speed
When you kill it
- 0.3 kill points (3 credits)
- healing: 5% of your max health
- +1 max shield (if you own a shield upgrade)
- 3 rank points
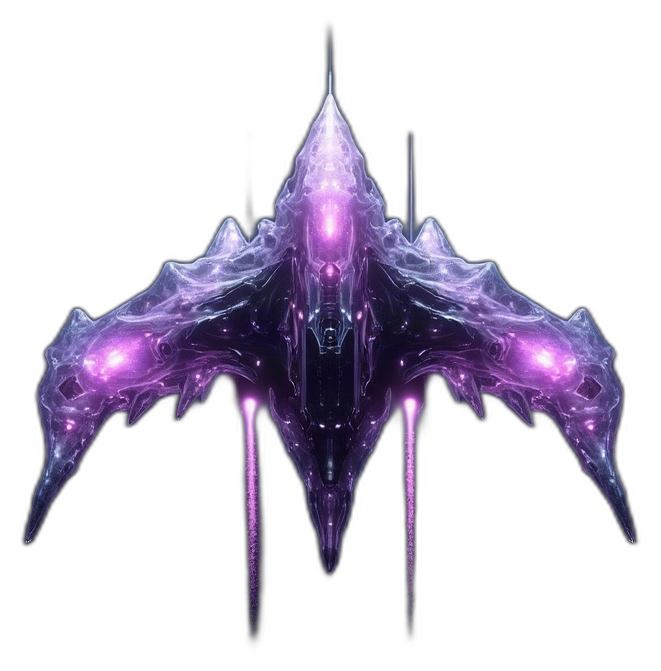
Void NPC 5
The Void Boss’s escort: small, fast (400) and short-ranged (200 px), but it chases you from any distance. The Void Boss releases more of them when its body is hit (those do not respawn). It gets faster after every Void Boss death. Its damage is fixed (reduced by half of your kill points, but at least 5).
- Health
- 300
- Speed
- 400
- Damage
- 30
- Fire rate
- 5 shots/s
- Firepower
- about 150 damage/s
- Size
- 1.5×
- Range
- 200 px
- Detection
- unlimited
- Respawn
- 5 s
- Where
- Void (10)
When it kills a player
- after every Void Boss death: +10% speed
When you kill it
- 0.3 kill points (3 credits)
- healing: 5% of your max health
- +1 max shield (if you own a shield upgrade)
- 3 rank points
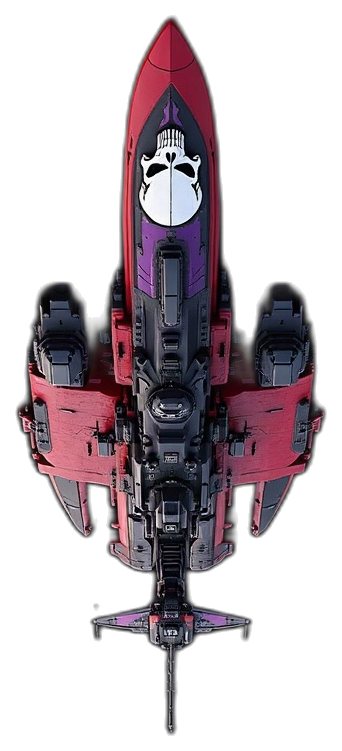
Void Boss
A gigantic, slowly roaming Void ship that never chases you – its three built-in turrets shoot everything (turrets and drones first, then players and other NPCs). Below 30% health it enrages: its turrets deal ×2 damage. Your shots hit the living turrets first. Every body hit releases a Void NPC 5 escort (at most 10 alive at once). Void ammo damages its body only once. A destroyed turret rebuilds after 30 s, stronger (+500 health, +50 damage).
- Health
- 5,000, +1,000 after each death
- Regeneration
- 2%/s
- Shield
- below 10% health, a shield worth 200% of its max health (again after 300 s)
- Turrets
- 3: 1,500 health, 32 damage (at least 30), 1,500 px range, 45° cone
- Respawn
- 10 s
- Where
- Void (1)
When it kills a player
- if its turrets kill you: +500 max health, healing worth 50% of its max health (even above the maximum), +15 turret damage – see below
When you kill it
- 5 kill points (50 credits)
- healing: 5% of your max health
- +10 max shield (if you own a shield upgrade)
- 25 rank points
- its turrets die too, the next Void Boss comes with +1,000 health, Void NPC 5s get faster
Growth and overhealing from its turrets’ kills
- Whatever its turrets kill – players, player turrets, drones and NPCs too (not the Void NPC 5 escorts) – makes the Void Boss stronger and heals it.
- Weights: player 1, player turret 1.5, drone 0.5, NPC 0.5 – if the boss is at or above its maximum, an NPC counts only 0.05.
- Per weight unit: +500 max health (kept on the map – the next Void Boss is that much stronger too), +15 turret damage (until the boss dies), and healing worth 50% of its max health.
- Overhealing: this healing can exceed its max health – the boss’s health can grow above the maximum. Its own regeneration (2%/s), however, only fills up to the maximum.
- This is why the NPCs of the Void map feed it too: left undisturbed, its turrets keep killing passing NPCs and fatten it into an ever bigger, overhealed boss.
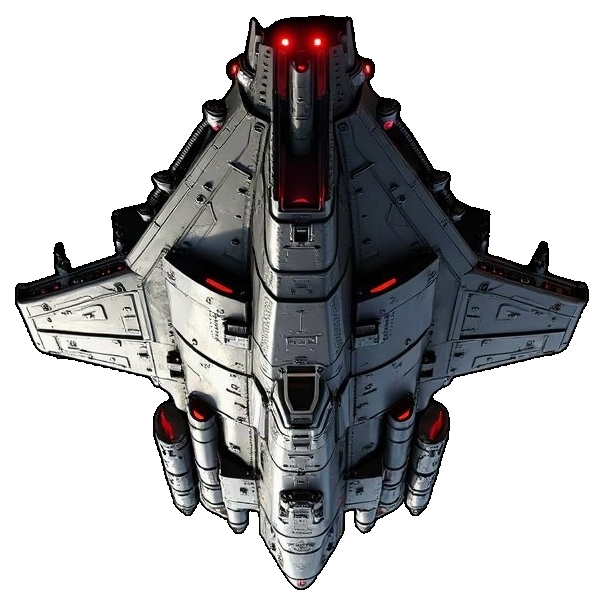
Centurion
The giant of the End map. It does not fight itself, it just roams – its Hunters and turrets fight for it. In its protected zone (three times its size, at least 2,000 px across) it releases a new Hunter every 2 s while anyone is there, and also on every hit it takes (at most once per 1 s). Whoever hits it is attacked by all its Hunters for 20 s. Void ammo damages it at most 2 times. At 5,000 health its position is marked for everyone. Your turrets and drone only shoot its Hunters, not its body. Other NPCs flee from Hunters (within 700 px).
- Health
- starts at 1,000, no upper limit
- Incoming damage
- −90%
- Shield
- starts at 1,000 (grows as it grows, up to 20,000), 3%/s
- Speed
- 400; “heavy” from 3,000 health: 50
- Turrets
- 4: 3,000 health, 40 damage, 600 px range – grows with its size (at base size; 2× at double size), bursts of 3
- Respawn
- 60 s
- Where
- End (1)
When it kills a player
- every Hunter hit +50 health; every Hunter or turret kill another +50 health and +5 speed – so it keeps getting bigger and stronger
When you kill it
- 50 kill points (500 credits)
- healing: 50% of your max health
- 150 rank points
- its Hunters die too; it returns with starting values after 60 s
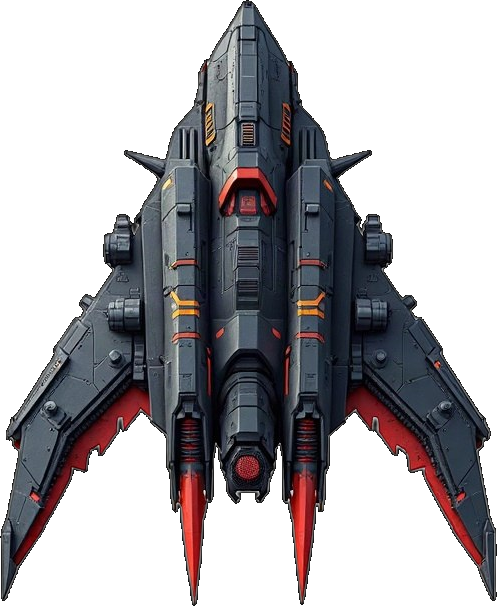
Hunter
A fast hunter: it attacks the nearest target in the Centurion’s zone, or the Centurion’s attacker for revenge. Its damage scales with your max health – your kill points do not reduce it.
- Health
- 500
- Speed
- ×4 the Centurion’s speed
- Damage
- to players 5% of their max health (at least 50); to NPCs, turrets, drones 50
- Fire rate
- 1.5 shots/s
- Range
- 600 px
- At once
- at most 30
When you kill it
- 1 kill points (10 credits)
- healing: 5% of your max health
- 4 rank points
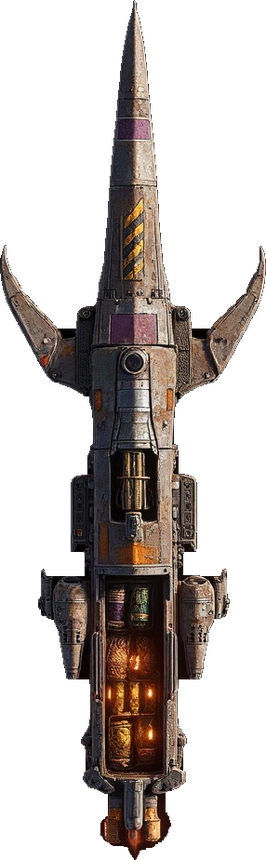
Marauder
A pirate roaming from map to map, escorted by two Cargo drones. It robs the rich: its harpoon steals your kill points – that is its loot, which makes it faster and gives it a shield; above 100 loot its position is marked for everyone. After stealing 30 on a map it flees through the nearest gate; when damaged it hides among NPCs. Defeat it and 1.5× its loot goes back to the pilots who damaged it, in proportion to their damage. You are safe inside a gate’s protected zone and while cloaked.
- Health
- 40,000
- Speed
- 380, +10% per 100 loot (at most +50%)
- Shield
- 50 per loot, 2%/s; at most 50% of its max health. When its harpoon hits an already slowed player, it heals 1% health and gains 4% shield
- Your damage to it
- your kill count is subtracted from the damage of your shots (and of your drone and turrets) – every shot deals at least 1; the more kills you have, the stronger it is against you
- Harpoon
- 1,200 px, a burst of 3 harpoons every 2.5 s, homing (turns after you at up to 60°/s): each harpoon deals 5% of your max health plus shield, 5× on shields, 40% slow for 4 s – it stacks: every further hit slows your already slowed speed even more (down to 10% of your original speed) –, and it steals 10% of your kill points (at least 1)
- Target
- the player with the most kill points within 3,000 px (at least 100); whoever attacks it (or its drones) is chased for 30 s – regardless of kill points and distance
- Appears
- 60 s after its defeat, on a random map (not the Origin or PvP)
When you kill it
- 30 kill points (300 credits)
- 100 rank points
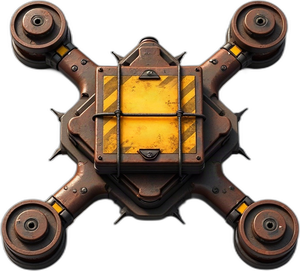
Cargo drone
It flies behind the Marauder and does not shoot. Shoot it down and 20% of the Marauder’s loot is yours.
- Health
- 3,000
- At once
- 2
When you kill it
- 5 kill points (50 credits)
- 10 rank points
Ships
- You buy ships for credits on the hangar’s Ships tab; a bought ship is yours forever and activating it is free (it takes effect at the next launch). The weekly login bonus can also give a ship.
- Ship levels: a bought ship starts at level 1 and can be upgraded up to level 10 (each level costs 5% of the ship’s price). The values below are for level 10; at lower levels the difference from the base value is proportionally smaller (for both advantages and drawbacks). Abilities and the team booster do not depend on the level.
- Team booster: a one-time add-on for some ships. It only works while you fly that ship and are in a group: it affects you and your group mates on the same map. Several boosters add up.
- The videos next to the abilities show how each ability works (the ▶ button on the hangar’s Ships tab plays the same).

Basic
- the standard equipment – no modifiers
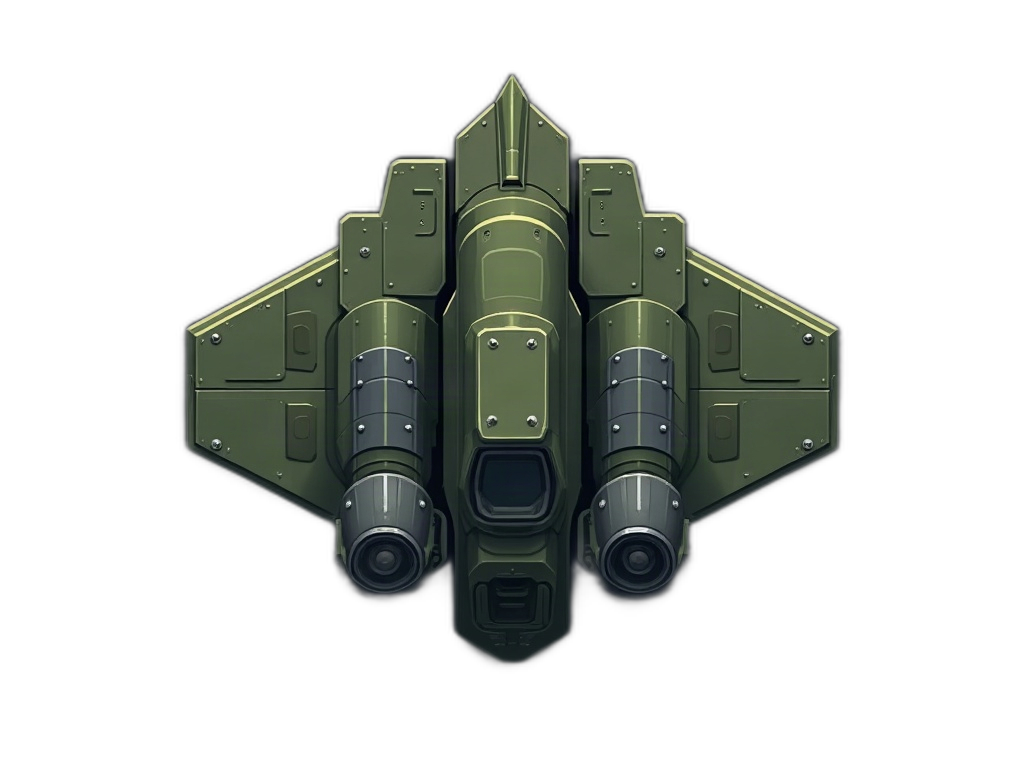
Tank
- +50% health
- +50% shield
- −30% speed
- +100% fire rate
- spread shot: within a 15° cone (±7.5°)
- +2% health regeneration/s
- +2% shield regeneration/s
- −20% incoming damage
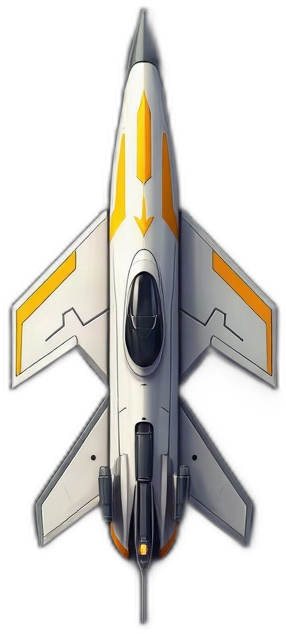
Lighting
- −20% health
- +20% speed
- +10% damage
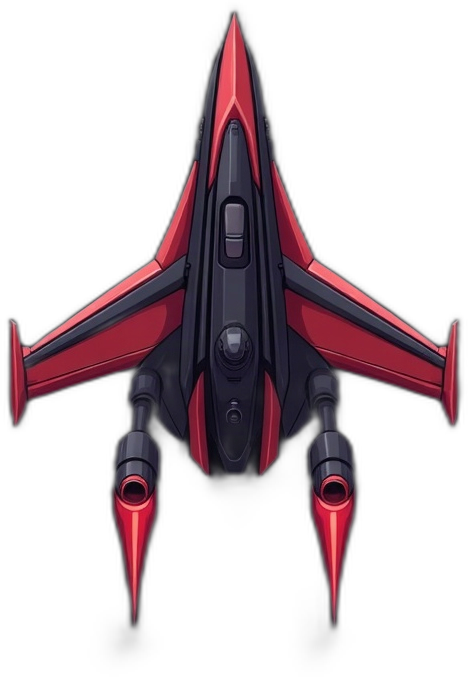
Vampire
- +15% speed
- +15% damage
- +5% healing per kill
- −10% health/s
- below 50% health the bonuses are 6× stronger
- below 20% health the bonuses are 12× stronger
- the droid's Repair add-on does not heal it
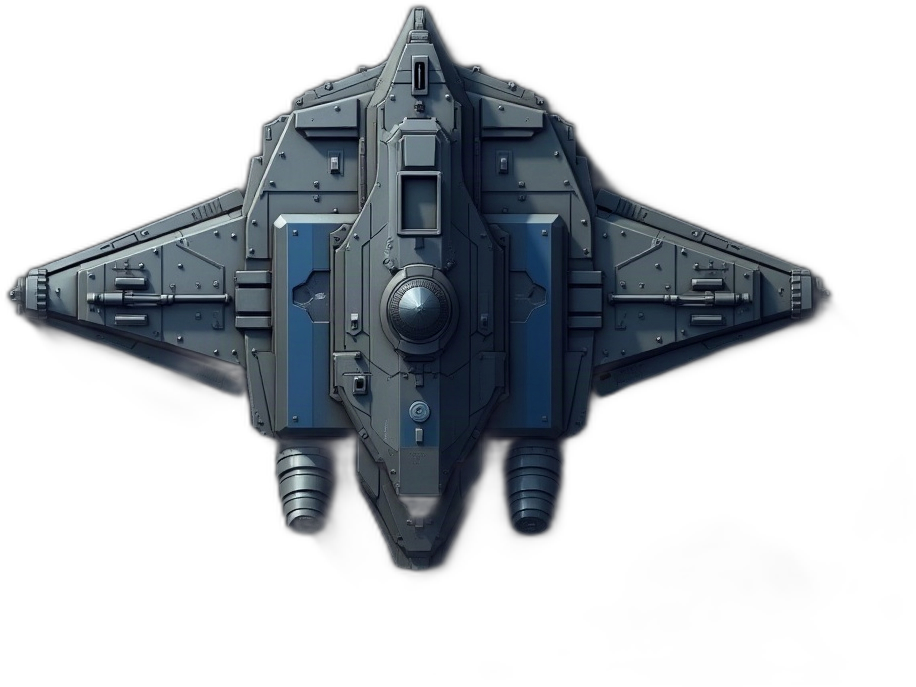
Fortress
- +100% health
- +200% shield
- −90% speed
- +20% damage
- speed bonuses (kills, upgrade) are 2× stronger
- +100% fire rate
- spread shot: within a 30° cone (±15°)
- +0.1% health regeneration/s
- +5% shield regeneration/s
- built-in, invisible turret (uses no turret slot)
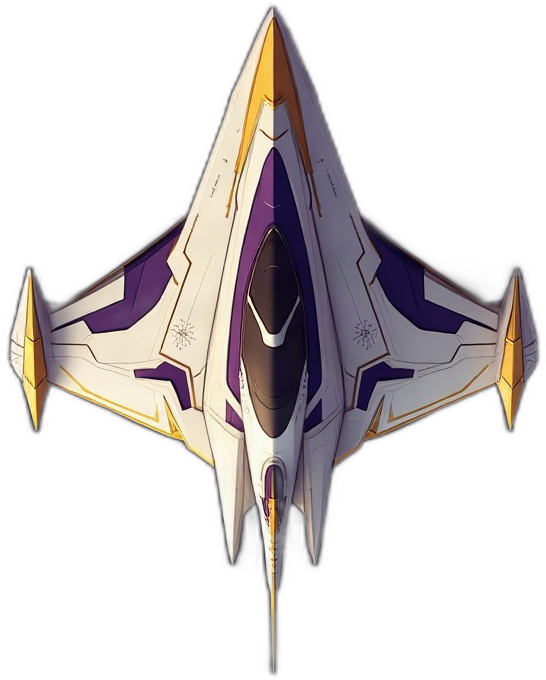
Grandmaster
- +50% health
- +50% shield
- +50% damage
- +1% health regeneration/s
- +20% shield regeneration/s
Only this ship can use Holy ammo.
Abilities
for 8 s you and your teammates on the map are invulnerable and fully heal up (health and shield), +10% speed, +50% damage (cooldown 60 s)
Team booster – 30,000 credits
- +10% damage
- +10% speed
- +15% health
- +15% shield
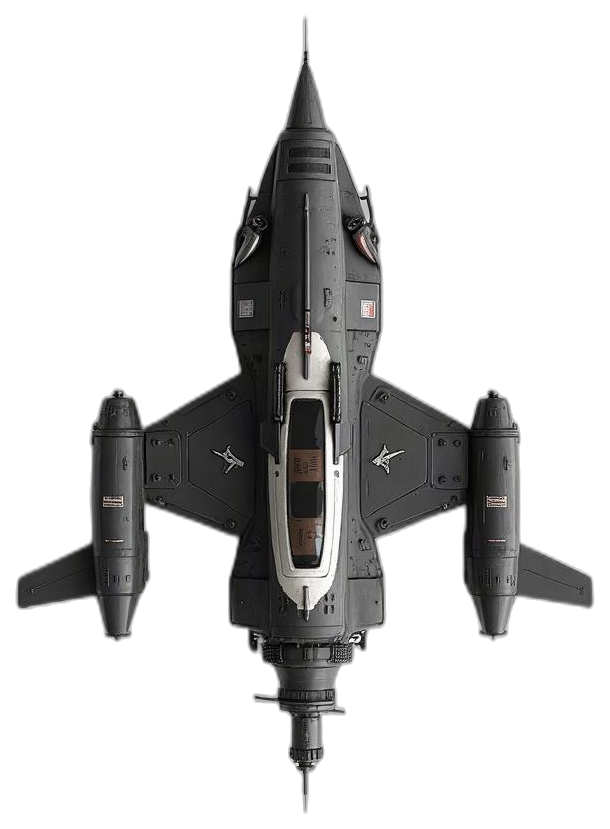
Mender
- +50% health
- +10% shield
- +10% speed
- −15% damage
Abilities
+10% shield/s for 10 s to you and nearby teammates (cooldown 30 s)
+50% health to you and every team member (cooldown 60 s)
stays in place for 20 s, +10% health/s nearby to you and your teammates (cooldown 40 s)
Team booster – 20,000 credits
- +20% health
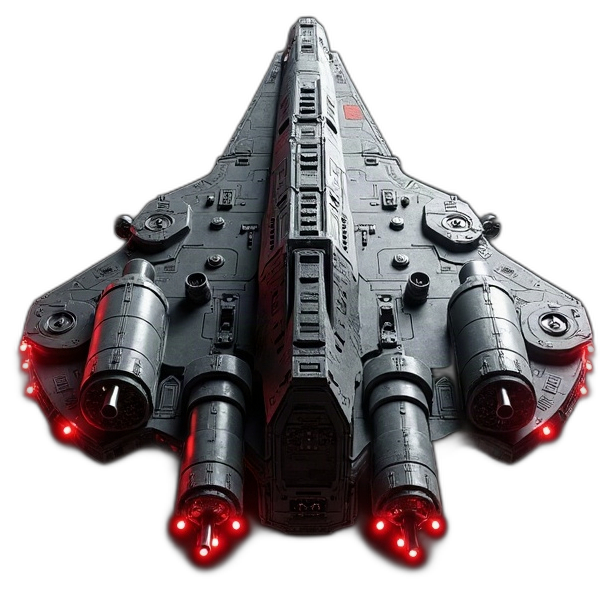
Bastion
- +400% health
- +200% shield
- −80% speed
- −50% damage
Abilities
over 10 s your health and shield drop to 30%; your teammates on the map receive the loss in equal shares (cooldown 60 s)
for 10 s, −5% health every second; in exchange your teammates on the map get their shields refilled to 100% (cooldown 45 s)
a further −90% incoming damage and −90% speed for 15 s (cooldown 40 s)
for 15 s you take the hits aimed at teammates within 900 px (cooldown 60 s)
+500% speed for 10 s (cooldown 30 s)
Team booster – 20,000 credits
- +10% shield
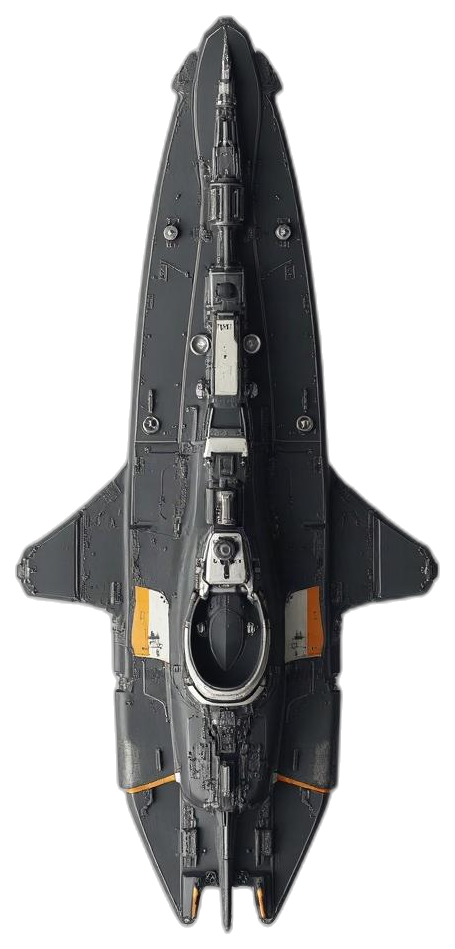
Racoon
- −20% health
- +30% shield
- +30% speed
- −40% damage
Abilities
a 900 px circle expands over 1 s: whoever is inside at that moment (you and your teammates) gets +50% damage for 10 s (cooldown 45 s)
you and your teammates within 900 px are invisible for 20 s (on the map and to NPCs too; your drones as well), +10% speed; whoever shoots or leaves the circle becomes visible (cooldown 60 s)
a red marker at the aimed spot, visible to everyone for 10 s, with a compass arrow (cooldown 10 s)
a 2 s countdown (the circle is visible to everyone), then opponents within 600 px (players and NPCs) take 300% of your max. health as damage, your health then drops to 10%, you gain no health for the kills; if you die meanwhile, it is cancelled (cooldown 120 s)
Team booster – 15,000 credits
- +15% damage
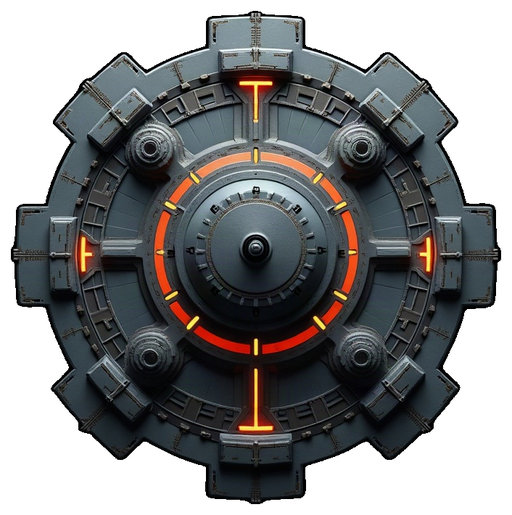
MADNESS
- +20% health
- +100% shield
- −20% speed
- −50% damage
- 4 rotating turrets: each turret fires (and uses) the selected ammo at the aimed spot
- the hull does not turn towards the aim
Abilities
for 15 s your ship flies on its own towards the nearby NPC or player with the most health (you cannot steer it), your turrets fire at the enemy nearest to them (NPC, enemy player, turret or droid); +500% damage, −50% incoming damage (cooldown 90 s)
you take no damage for 5 s (cooldown 45 s)
for 15 s your droid gets +100% damage, +50% speed, 5× TP (XP) gain (cooldown 60 s)
Team booster – 20,000 credits
- +5% damage
- +5% health
- +10% shield
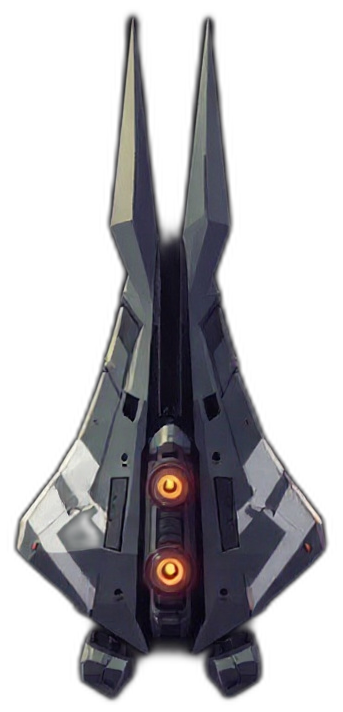
LAZER
- +10% health
- +20% shield
- +15% speed
- +20% damage
- +50% fire rate
Abilities
you cannot fire for 8 s and lose 10% of your shield per second (the same amount of health if you have no shield); if you are alive at the end, +1 Beam charge (up to 3)
for 1 charge, for 15 s you fire from the big cannon between the two small ones: 3× faster, with 2× faster bullets and 2× damage
for 3 charges, a continuous ray from the middle of your ship for 5 s (2500 px): every second it drains 10% shield and health from you and your teammates on the map and deals 3× that much damage to everything in the ray (not to your teammates, their turrets or droids); meanwhile you are invulnerable, but −90% speed, and your ship turns only slowly towards the mouse
Team booster – 30,000 credits
- +30% damage
- +5% health
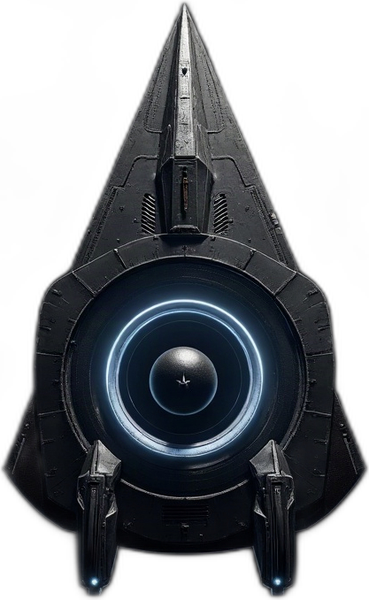
GRAVITON
- +30% health
- +20% shield
- −20% speed
- −10% damage
- passive Mass attraction: nearby NPCs move more slowly
Abilities
at the aimed spot (at most 1500 px away) a 600 px well pulls NPCs towards its centre for 6 s; bosses are not pulled, only slowed by 40% (in PvP it pulls opponents too, more weakly) (cooldown 20 s)
for 4 s enemy projectiles entering the 400 px bubble around your ship slow down by 70% and bend away – it protects your teammates too (cooldown 30 s)
collapses at the aimed spot over 2 s: pulls everything within 900 px into its centre, then explodes – NPCs and opponents take 8% of their max health (2% for bosses) and cannot move for 1.5 s (cooldown 90 s)
Team booster – 25,000 credits
- +10% damage
- +10% shield
Kills and mechanics
Kill points and credits
Every kill gives kill points (depending on the type, fractions too, e.g. 0.2). Your kill points last until the end of the run (until you leave), and they:
- raise your damage: your shot’s base damage gets about +1 per kill point (+0.8 against NPC1, +1.5 against NPC3);
- raise your speed: +1 px/s per kill point;
- protect you: NPC shots deal less damage by half of your kill points (up to 95%), player and turret shots by a fifth (up to 75%);
- can be spent: on upgrading your turrets and the base (E);
- generate credits: every kill point earned is worth 10 credits (×2 on the Hardmode map) – credits go to your account at once.
Who gets the kill?
- The last hit decides – damage is not shared among those shooting the enemy.
- Your own shot (and your drone’s, or the Fortress built-in turret’s) only gives a reward if you are alive at the moment of the hit. Your placed turret’s kills are yours even while you are dead.
- In a group half of the reward (kill points, max health, shield, healing) goes to the killer, the other half is shared equally among the living group mates on the same map. Drone experience (TP) is counted from the full value.
- Kills by the base’s towers give nobody a reward. Destroying an enemy turret or drone gives no reward either.
Killing an NPC – rewards
Healing is a percentage of your max health; max-health and shield bonuses last until the end of the run (the shield bonus needs a shield upgrade). Boss variants: see Boss NPC.
| Enemy | Kill pts | Heal | Max HP | Max shield | Rank pts | Respawns |
|---|---|---|---|---|---|---|
| Enemy1 | 0.2 | 7.5% | – | – | 1 | 2 s |
| Enemy2 | 0.3 | 10% | +10 | – | 3 | 10 s |
| Enemy3 | 0.1 | 2.5% | – | – | 2 | 0.5 s |
| Enemy4 | health/1000 | 5% | +50 | +10 | 25 | 10 s |
| Enemy5 | 0.2 | 5% | – | – | 5 | 5 s |
| Void NPC 1 | 0.3 | 5% | – | +1 | 3 | 5 s |
| Void NPC 2 | 0.3 | 5% | – | +1 | 3 | 5 s |
| Void NPC 3 | 0.3 | 5% | – | +1 | 3 | 5 s |
| Void NPC 5 | 0.3 | 5% | – | +1 | 3 | 5 s |
| Void Boss | 5 | 5% | – | +10 | 25 | 10 s |
| Centurion | 50 | 50% | – | – | 150 | 60 s |
| Hunter | 1 | 5% | – | – | 4 | – |
- On Hardmode, credits and NPC-kill rank points are ×2 (kill points are not).
- Killing an NPC4 escalates the whole map (more and stronger NPC5s, a stronger next NPC4).
- Kills also count for daily missions (their type, “any NPC”, Void and boss missions). In a group, only the shooter’s progress advances.
When an NPC kills you
NPCs do not heal from kills – they grow stronger: the whole type, on that map, until the server restarts. The effect of one player kill:
| Killer | Growth |
|---|---|
| Enemy1 | damage +0.2, health +10 |
| Enemy2 | damage +1, health +30, fire interval −5 ms, protection grows |
| Enemy3 | damage +0.4, health +5, speed +1% |
| Enemy5 | damage +5 (max 300), protection grows, health +5, +1 NPC5 |
| Void NPC 1 | health +10 |
| Void NPC 2 | health +20, damage +5 |
| Void NPC 3 | health +100, speed +10 |
| Void Boss turrets | the boss gains +500 max health, heals, its turrets grow stronger |
| Hunter / Centurion turret | the Centurion gains +100 health, +5 speed |
What you lose on death
- 30% of the credits you earned during the run (you never drop below your balance at login);
- rank points: -5 to an NPC, between -8 and -30 to a player (see below);
- only when killed by a player 30% of your kill points (×0.7, if you had at least 2) – when an NPC kills you, you keep your kill points;
- “single-life” missions restart, survival missions fail.
You do not lose: ammo, your ships and ship levels, hangar upgrades, run max-health and shield bonuses, your turrets (on other maps they wait inactive). Your drone disappears while you are dead and comes back with you.
Player versus player (PvP)
- PvP is on every map (the PvP map has nothing else). You cannot damage: yourself, your group mates (nor they you), a player in a gate’s protected zone, an invulnerable player.
- Reward (if the killer is alive): 1 + 0.3 × victim’s kill points kill points (halved in a group), and healing: 50% max health − 0.7 × your own kill points. A strong victim is worth more. Note: with many kill points the “healing” turns negative – a strong player takes damage for killing a weak one (but their health never drops below 1).
- The victim loses 30% of their kill points, part of their run credits and rank points.
- PvP kills do not count for daily missions. Your turret’s PvP kills are yours too.
Rank points and leaderboard
Rank points are the long-term standing: the hangar leaderboard shows the top 10 players and your own position. Rank points never go below 0.
- NPC kill: as in the table above (multiplied on Hardmode).
- Killing a player: 10 + 0.5 × victim kill pts + 0.05 × victim rank pts, between 1 and 60.
- Death to a player: -8, plus half the kill-point difference if a weaker player killed you (at most -30). Death to an NPC: -5.
Turrets, drone, Vampire, Self-destruct
- A placed turret’s kill belongs to its owner; it only fires while its owner is on the same map.
- A drone kill counts as your own kill, and gives the drone experience (TP): ×2 the kill points.
- The Vampire ship heals on every kill (NPC, PvP, turret, drone), several times more at low health.
- The Racoon’s Self-destruct kills give kill points, credits and rank points, but no health (neither healing nor a max-health bonus).
- NPCs killed by the Void Boss turrets, the Hunters or the Centurion turrets give nobody a reward – they feed the boss instead.
Leaving and keeping your stats
When you leave (or return to the hangar) your kill points are lost – unless you keep them: for 50 credits per kill point, the whole part of your kill points, your run max-health and shield bonuses, your upgraded turrets and your drone’s level carry over to the next launch. Kept kill points do not generate credits again.
Progression and equipment
Hangar upgrades
Permanent upgrades for credits, each up to level 30. Price: base price × (current level + 1).
| Upgrade | Per level | Base price |
|---|---|---|
| Armor | +20 max health | 100 |
| Weapons | +4 damage | 150 |
| Engine | +5% speed | 120 |
| Shield | level 1: 50, then +20 shield per level | 250 |
| Turret armor | +40 turret health | 130 |
| Turret cannon | +5 turret damage | 170 |
| Turret breech | +12% turret fire rate | 160 |
| Turret mount | +1 placeable turret (at most 5) | fixed 10,000 |
The shield regenerates 1%/s after 3 s without damage (2%/s within 300 px of your own turret).
Ammo and instants
| Type | Effect | Price |
|---|---|---|
| Normal | unlimited ammo (default) | free |
| Void | piercing shot: flies through NPCs, damaging each of them, 70% damage | 4,000 credits / 1,000 pcs |
| DoubleShot | fires TWO parallel projectiles, uses 2 rounds per shot | 1,000 credits / 2,000 pcs |
| 2xDamage | DOUBLE damage per projectile | 1,000 credits / 1,000 pcs |
| 4xDamage | QUADRUPLE damage per projectile | 3,000 credits / 1,000 pcs |
| Holy | Grandmaster only: 6× damage per projectile, +5% shield per hit, 2× larger projectile | 10,000 credits / 1,000 pcs |
| InstantHealM | instant +50 health | 2,000 credits each |
| InstantHealXL | instant +100 health | 4,000 credits each |
| InstantShieldM | instant +50 shield | 2,000 credits each |
| InstantShieldXL | instant +150 shield | 4,000 credits each |
The slot order can be rearranged in the hangar. Instants (heal, shield) take effect immediately.
Turrets
- T: place a turret at your position (not in a gate’s protected zone). Turrets shoot NPCs and enemy players.
- Base values: 200 health, 16 damage, 700 px range, 0.9 s fire interval – plus your hangar turret upgrades.
- E within 160 px of the turret: a run level-up for (level + 1) × 5 kill points – per level +60 health, +6 damage, +15% fire rate, +40 px range.
Drone
- You buy it once (50,000 credits); it has six upgrades on the hangar’s Drone tab (damage, health, shield regeneration and repair for you, a damage boost for you, radar), each up to level 30.
- G: combat (fires, uses and consumes your selected ammo) → passive (orbits you, does not fire, but its bonuses work) → off (hidden, repairs 3%/s).
- Run level: it gains TP from kills (kill points × 2); the first levels need 10, 20 TP, then always the sum of the previous two. Each level gives +10 damage and +100 health until the end of the run.
- If destroyed, it returns after 10 s.
Group
You can invite others to your group in the hangar or during play. Group mates cannot damage each other, share kill rewards, see each other’s health and shield on the group panel, and team boosters and many abilities (Mender, Bastion, Racoon, LAZER) only affect group mates.
Daily and weekly bonus, missions
- You get a reward when you log in each day (credits, ammo or a free upgrade level). If you logged in on all 7 days of the week, there is a weekly extra on Sunday: a ship you don’t own yet, a big ammo pack or credits.
- Every day you can pick new missions in the hangar (killing given NPCs, dealing damage to the Centurion, survival, etc.) – completing them gives credits and ammo.